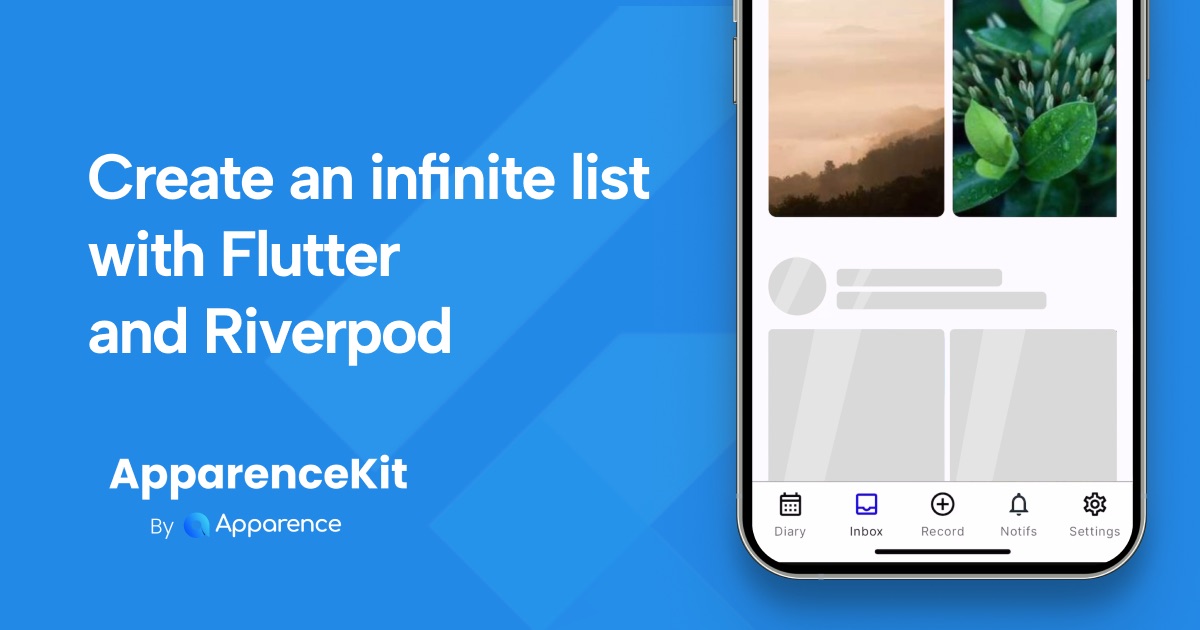
Infinite pagination is a common pattern since the rise of social networks.
It allows to load more data when the user reaches the end of the list.
This pattern is also called "infinite scroll" or "endless scroll".
Here's a short video example of what we're going to build:
How it works
The idea is to have a state that contains the current page and the list of items. When the user reaches the end of the list, we load the next page and add it to the list of items.
- We load the first page when the page is created
- When the user reaches the end of the list, we load the next page
- We add the new items to the list of items
What will we use?
We will use Riverpod for state management and Firebase as a backend.
Loading pagined data with Firestore
In this article I will use Firebase as a backend.
But the same principles can be applied to any backend and database.
Future<List<InboxEntity>> list(
    String userId,
    int limit, {
    DateTime? endBefore,
}) async {
    var query = _collection(userId).orderBy('createdAt', descending: true);
    if (endBefore != null) {
        query = query.endBefore([endBefore]);
    }
    final results = await query.limit(limit).get();
    return results.docs.map((e) => e.data()!).toList();
}- if
endBeforeis not null, we add aendBeforeclause to the query (That's how we load the next page) - We limit the query results size to
limititems (preventing to loading all the data at once). I generally use 15 items per page. - The
_collectionmethod returns aCollectionReferencefrom theFirebaseFirestoreinstance.
The firestore withConverter method
Tips : the withConverter method allows to convert the data from the database to a Dart object.
That's really useful to avoid boilerplate code. Now your document will be automatically converted to your Dart object.
CollectionReference<InboxEntity?> _collection(String userId) => _client
      .collection('users') //
      .doc(userId)
      .collection('inbox') //
      .withConverter(
        fromFirestore: (snapshot, _) {
          if (snapshot.exists) {
            return InboxEntity.fromJson(snapshot.id, snapshot.data()!);
          }
          return null;
        },
        toFirestore: (data, _) => data!.toJson(),
      );
Storing our paginated data into a Riverpod state
What is a state?
A state is an object that contains the data of your application, page...
It can be a simple object or a complex object that contains multiple data.
The state is the single source of truth that you want to display in your UI.
For ex: Instead of asking your database for data every time you need it, you store it in a state.
Creating our state
Let's create a state that contains the current page and the list of items.
class InboxPageState {
  final List<Inbox> items;
  final Pageable<Inbox>? previousPage;

  const InboxPageState({
    required this.items,
    this.previousPage,
  });

  bool get hasMore => previousPage?.hasMore ?? false;
}itemsis the list of items we will display in our UIpreviousPageis the previous page we loaded. I use it to load the next page and to know if there is more pages to load.
Note: instead of having a previousPage property, you can also try until the API answers with an empty list and store just a boolean
The state notifier
Using Riverpod we can now generate a state notifier from the @riverpod annotation.
It will be in charge of loading the data and storing it into the state.
The first loading will be made from the build method.
import 'package:riverpod_annotation/riverpod_annotation.dart';
part 'inbox_provider.g.dart'; // <-- This is the generated file from riverpod annotation
class InboxNotifier extends _$InboxNotifier {
final logger = Logger();
Future<InboxPageState> build() async {
final inboxRepository = ref.read(inboxRepositoryProvider);
final userState = ref.read(userStateNotifierProvider);
await Future.delayed(const Duration(seconds: 1)); // 1
try {
final results = await inboxRepository.getPaged(userState.user.idOrThrow); // 2
return InboxPageState(items: results.data, previousPage: results);
} catch (err, stacktrace) {
logger.e('Failed to load inbox $err, $stacktrace');
rethrow;
}
}
- 1: We add a short delay to show the loading indicator even if the loading is fast
- 2: ```userState.user.idOrThrow`` is a getter from a global user state across the application. It throws an exception if the user is null.
Note: you can also use parameters in the build method to load the data you need.
Future<InboxPageState> build(String userId) async {
...
}Loading the next page
Now that we have loaded the first page, we need to load the next page when the user reaches the end of the list.
Future<void> loadNextPage() async {
    if (state is AsyncLoading) { // 1
      logger.d('Already loading next page');
      return;
    }
    if (!state.requireValue.hasMore) { // 2
      logger.d('No more pages to load');
      return;
    }
    final inboxRepository = ref.read(inboxRepositoryProvider);
    final user = ref.read(userStateNotifierProvider);
    state = const AsyncValue.loading(); // 3
    await Future.delayed(const Duration(seconds: 1));
    try {
      final results = await inboxRepository.getPaged(
        user.user.idOrThrow,
        previousPage: state.requireValue.previousPage, //4
      );

      state = AsyncValue.data(
        InboxPageState(
          items: [
            ...state.requireValue.items,
            ...results.data,
          ],
          previousPage: results,
        ),
      );
    } catch (err, stacktrace) {
      logger.e('Failed to load inbox $err, $stacktrace');
      state = AsyncValue.error(err, stacktrace);
    }
}- 1: We check if the state is already loading the next page. If it's the case, we don't load the next page.
- 2: We check if there is more pages to load. If it's not the case, we don't load the next page.
- 3: We set the state to loading to show the loading indicator
- 4: We load the next page using the
previousPageproperty from the state. Either you can just call your repository using the last element creationDate for example.
Creating the infinite scroll list widget
Flutter has many ways of creating UI lists.
But my favorite is using Slivers with a CustomScrollView.
Slivers are more flexible than regular lists and allow to create complex UIs.
Also you can create cool animated headers with them...
The CustomScrollView
Widget build(BuildContext context) {
final state = ref.watch(inboxNotifierProvider); // ℹ️ 1
return SafeArea(
child: CustomScrollView(
controller: _scrollController,
slivers: [
const InboxHeader(),
state.map(
data: (asyncData) => asyncData.value.items.isEmpty
? const EmptyInboxContent() // ℹ️ 2
: SliverPadding( // ℹ️ 3
padding: const EdgeInsets.symmetric(horizontal: 16.0),
sliver: SliverList.separated(
itemBuilder: (_, index) => InboxRecordCard(
inbox: asyncData.value.items[index],
),
separatorBuilder: (_, __) => const SizedBox(
height: kSeparatorHeight,
),
itemCount: asyncData.value.items.length,
),
),
error: (err) => const Center(
child: Text('Error while loading inbox'),
),
loading: (asyncLoading) => SliverPadding( // ℹ️ 4
padding: const EdgeInsets.symmetric(horizontal: 16.0),
sliver: SliverList.separated(
separatorBuilder: (_, __) => const SizedBox(
height: kSeparatorHeight,
),
itemCount: switch (asyncLoading.value) {
InboxPageState() => asyncLoading.value!.items.length + 5,
null => 5,
},
// itemBuilder: (_, index) => const InboxCardSkeletonTile(),
itemBuilder: (_, index) {
if (!asyncLoading.hasValue ||
index >= asyncLoading.value!.items.length) {
return const InboxCardSkeletonTile();
}
final item = asyncLoading.value!.items[index];
return InboxRecordCard(
inbox: item,
);
},
),
),
),
],
),
);
}- 1: We watch the state to rebuild the UI when the state changes. This will call the build method of the previous notifier.
- 2: If the list is empty, we display a custom empty widget
- 3: If the list is not empty, we display the list of items using a
SliverList. (I won't share the code of theInboxRecordCardwidget here as it's not relevant to the article). - 4: If the state is loading, we display a skeleton list. The skeleton list is a list with fake items to show the user that the list is loading. To make it more interactive and fun, I display 5 fake items when loading. These items are skeletons that will be replaced by the real items when the loading is finished. This is a small detail that makes the user experience better.
Detecting the end of the list
class InboxPage extends ConsumerStatefulWidget {
const InboxPage({super.key});
ConsumerState<ConsumerStatefulWidget> createState() => _InboxPageState();
}
class _InboxPageState extends ConsumerState<InboxPage> {
final ScrollController _scrollController = ScrollController(); // 1
void initState() {
super.initState();
_scrollController.addListener(_onScrollListener);
}
void dispose() {
_scrollController.removeListener(_onScrollListener);
super.dispose();
}
void _onScrollListener() {
final maxScroll = _scrollController.position.maxScrollExtent;
final currentScroll = _scrollController.position.pixels;
const delta = 200.0;
if (maxScroll - currentScroll <= delta) { // 2
ref.read(inboxNotifierProvider.notifier).loadNextPage();
}
}
Widget build(BuildContext context) {
...
}
}- 1: We create a
ScrollControllerto listen to the scroll events - 2: We check if the user is almost at the end of the list. The delta position is the distance from the end of the list to trigger the loading of the next page. Change it to fit your needs. This is one of the small details that creates a good user experience.
How to create a skeleton/shimmer widget?
This effect is really easy to create. Basically you creates a widgets with grey containers that shows the shape of a the resulting widget.
import 'package:better_skeleton/skeleton_container.dart';
import 'package:flutter/material.dart';
class VideoSkeletonTile extends StatefulWidget {
const VideoSkeletonTile({super.key});
State<VideoSkeletonTile> createState() => _VideoSkeletonTileState();
}
class _VideoSkeletonTileState extends State<VideoSkeletonTile>
with SingleTickerProviderStateMixin {
late final AnimationController animationController; // ℹ️ 1
void initState() {
super.initState();
animationController = AnimationController(
vsync: this, duration: const Duration(milliseconds: 1000))
..repeat(); // ℹ️ 2
}
void deactivate() {
animationController.dispose();
super.deactivate();
}
Widget build(BuildContext context) {
return AnimatedSkeleton( // ℹ️ 3
listenable: animationController,
child: Container(
height: 300,
width: 200,
decoration: BoxDecoration(
color: Theme.of(context).colorScheme.primary.withOpacity(.1),
borderRadius: BorderRadius.circular(8),
),
padding: const EdgeInsets.all(16),
),
);
}
}- 1: We create an
AnimationControllerto animate the skeleton - 2: We make the animation repeat itself in a loop.
- 3: We wrap the widget with an
AnimatedSkeletonwidget. This widget will animate the overlayed glass effect using theAnimationControllerwe created before.
That's it. You can now use this widget to display a skeleton list. You can also share the animation controller between multiple widgets to make them animate at the same time.
Bonus: adding a refresh indicator
Adding a refresh indicator is really easy with a CustomScrollView.
RefreshIndicator.adaptive(
    displacement: 100,
    onRefresh: ()  {
        ref.read(inboxPageStateProvider.notifier).refresh();
    },
    child: CustomScrollView(
        controller: _scrollController,
        ...
Flutter will automatically display the refresh indicator when the user pulls down the list. I let you code the refresh method in the notifier.
Conclusion
We have seen how to create an infinite scroll list with Riverpod and Flutter.
This is one of the most common patterns in mobile applications and Riverpod makes it really easy to implement.
As Flutter only draws the visible items, you can have a list with thousands of items without any performance issues.
That's the beauty of native apps.
I hope you enjoyed this article. If you have any questions, feel free to ask them on Twitter.


