ApparenceKit - Flutter onboarding template
Onboarding is a crucial part of your app. It's the first experience your users will have with your app, and it's important to make it as smooth and engaging as possible.
After studying the best onboarding experiences in the market, I have selected some patterns that works well. This is what I use on my own apps and I'm sharing it with you.
Features
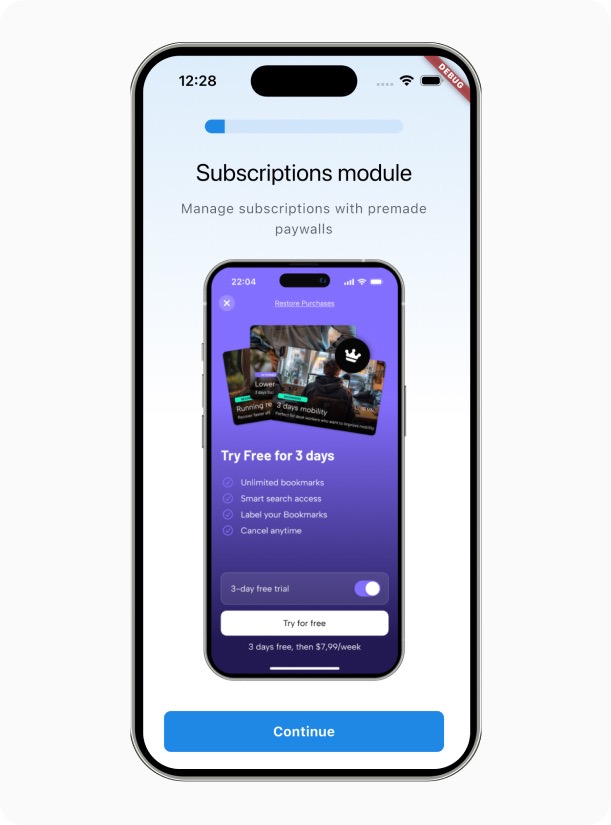
- Feature onboarding: Present your app features in a beautiful way.
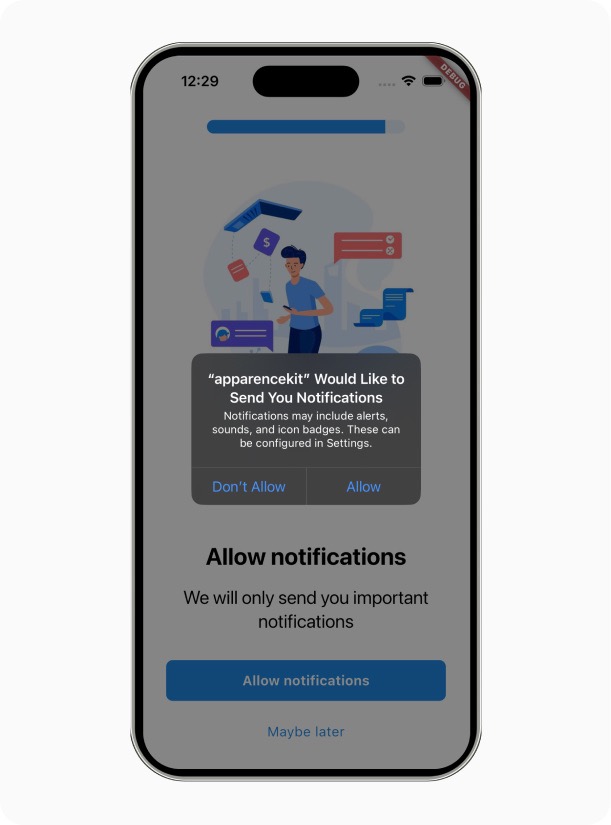
- Permission onboarding: Ask for permissions in a friendly way.
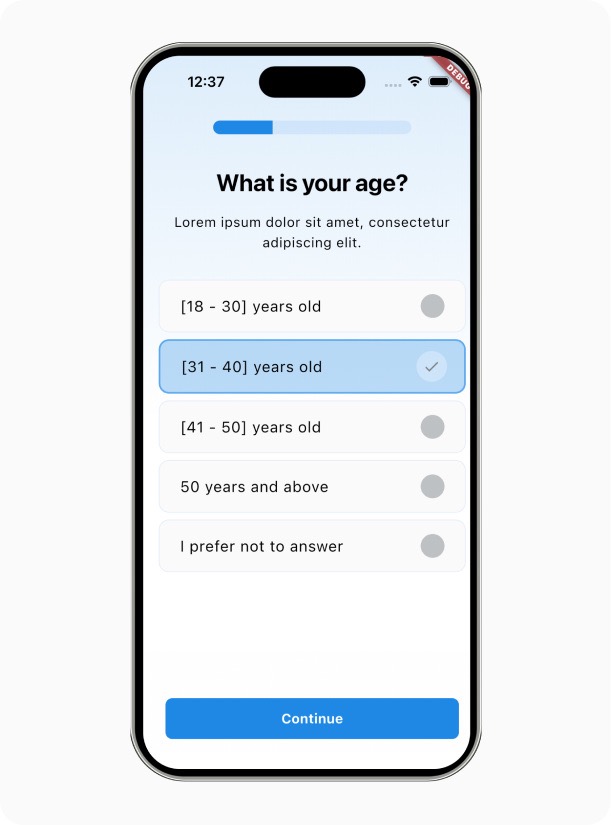
- Question onboarding: Ask questions to your users to personalize their experience.


Getting started
The onboarding template is available after setup your project with ApparenceKit. You will find it within the
lib/mobules/onboardingfolder.
Here is a quick overview of the files you will find:
Onboarding page: lib/modules/onboarding/ui/onboarding_page.dart
This is the main page providing the onboarding experience.
It contains a router where you can customize the onboarding steps.
Onboarding Feature template: lib/modules/onboarding/ui/widgets/onboarding_feature.dart
This is the template to present your app features. You can use it to create your own onboarding steps.
Onboarding Permission template: lib/modules/onboarding/ui/widgets/onboarding_permission.dart
This is the template to ask for permissions. (ATT, location, notifications, etc...)
Onboarding feature flutter template
The widget code is available here :
lib/modules/onboarding/ui/widgets/onboarding_feature.dart
Of course you can customize the template as you want.
Example
class OnboardingFeatureOne extends StatelessWidget {
final String nextRoute;
const OnboardingFeatureOne({
super.key,
required this.nextRoute,
});
Widget build(BuildContext context) {
final translations = Translations.of(context).onboarding.feature_1;
return OnboardingStep(
title: translations.title, // Title text
description: translations.description, // Description text
btnText: translations.action, // Continue button text
nextRoute: nextRoute, // Next route to navigate after pushing continue
imgPath: 'assets/images/onboarding/purchase.png',
withBg: true,
progress: 0.1, // Progress bar value
);
}
}Every text is localized with the Translations class.
Open the strings.i18n.json file in the lib/i18n/ folder to customize the text.
Onboarding questions flutter templates
Radio question
The widget code is available here :
lib/modules/onboarding/ui/widgets/onboarding_questions.dart
With this template you can ask questions to your users.
Radio questions provide a list of options where the user can select only one.
Example of usage
class UserAgeOnboardingQuestion extends ConsumerWidget {
final String nextRoute;
const UserAgeOnboardingQuestion({
super.key,
required this.nextRoute,
});
Widget build(BuildContext context, WidgetRef ref) {
final translations = Translations.of(context).onboarding.ageQuestion;
return OnboardingRadioQuestion(
title: translations.title,
description: translations.description,
btnText: translations.action,
progress: 0.3, // Progress bar value
optionIds: translations.options.keys.toList(), // List of options
optionBuilder: (key, selected) => SelectableRowTile( // Option widget that you can customize
title: translations.options[key],
selected: selected,
),
// here we can add a reassurance message when the user selects an option
reassuranceBuilder: (key) => CheckedReassurance(
text: translations.reassurance[key]!,
),
onValidate: (key) {
// User answer will be sent to analytics and stored in the user informations
// (depending on if you choosed Firebase, Supabase, or your own backend )
ref.read(onboardingNotifierProvider.notifier)
.onAnsweredQuestion(UserAgeInfo.fromString(key));
// Navigate to the next route
Navigator.of(context).pushReplacementNamed(nextRoute);
},
);
}
}Onboarding permissions flutter templates
The code is available here :
lib/modules/onboarding/ui/widgets/onboarding_permission.dart
ApparenceKit provides a template to ask for permissions in a friendly way.
It's already containing 2 pre-built permissions: ATT permission and Notifications.
Note: ATT consent is only for iOS 14+ if you choosed to use Facebook pixel. Either way you won't have it.
You can find the code in the
- ATT permission:
lib/modules/onboarding/ui/components/onboarding_att_setup.dartfile. - Notifications permission:
lib/modules/onboarding/ui/components/onboarding_notifications_setup.dartfile.
Conclusion
I hope this template will help you to create an efficient and beautiful onboarding experience for your users in minutes. Always remember to test many things and iterate on your onboarding to make it better. This is the key to create a successful app.